Red Velvet White Chocolate Chip Cookies have a special charm. They’re familiar but still a little surprising: cocoa-infused, eye-catching, and flecked with creamy white morsels. You get the nostalgia of homemade cookies and the playful decadence of red velvet cake in one bite. Let’s dig deep into every layer of making, perfecting, and savoring these cookies.
The Allure of Red Velvet White Chocolate Chip Cookies
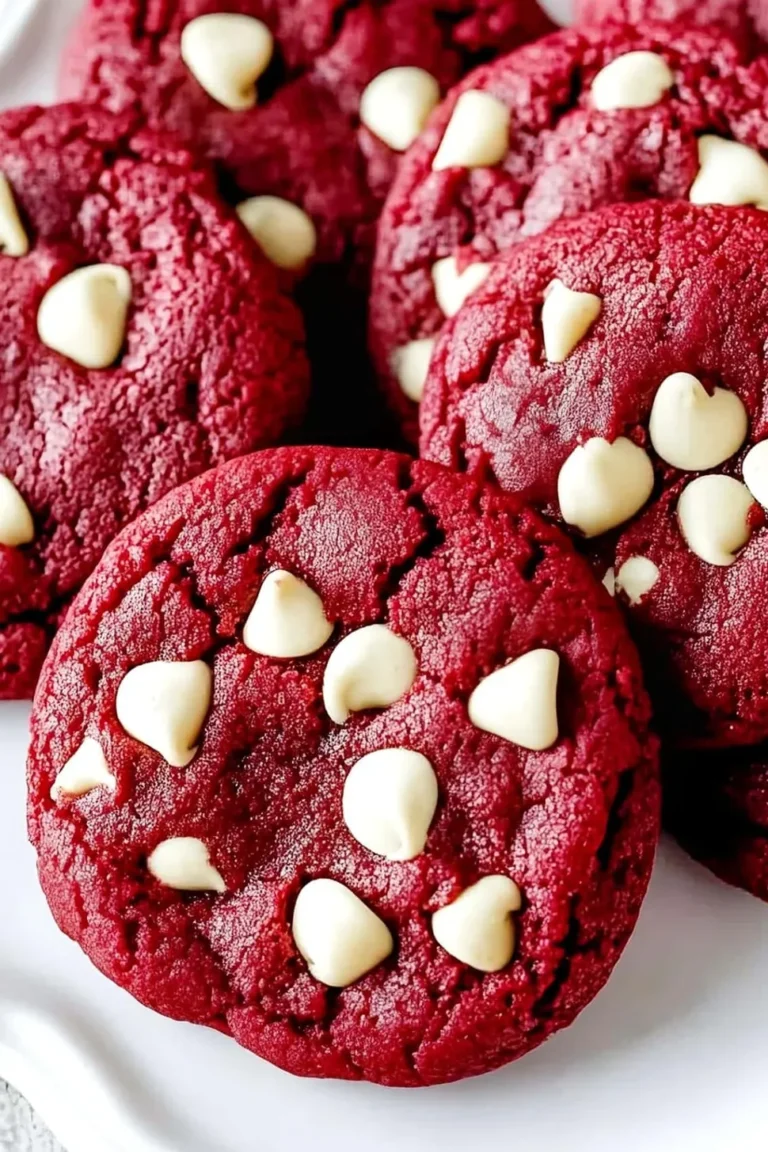
Red velvet’s appeal is unmistakable. Its deep red color and gentle cocoa aroma sit somewhere between a chocolate and a vanilla treat, with a subtle tang that sets it apart from ordinary chocolate chip cookies. When you fold in white chocolate chips, you’re adding pools of melt-in-your-mouth sweetness that highlight the bold hue.
Often, these cookies show up at holidays—think Valentine’s Day or Christmas—but their sophisticated look works for gatherings year-round, from birthdays to bake sales and quiet nights in. At their best, they’re chewy, soft in the center, and just the right kind of special.
Gathering Ingredients: What You’ll Need
A handful of pantry staples—plus some signature red velvet touches—come together for these cookies. Here’s a rundown of what to gather and how each ingredient shapes the final result.
- All-Purpose Flour: Provides structure and chew. Too much makes cookies dry; too little, and they spread too thin.
- Unsweetened Cocoa Powder: A modest amount infuses a mild chocolate undertone without overpowering. Dutch-process will give a smoother flavor.
- Baking Soda: Leavens and helps the cookies puff in the oven.
- Fine Sea Salt: Rounds out flavors and balances the sweetness.
- Unsalted Butter: Softened, not melted, for a supple dough and tender texture.
- Granulated Sugar & Brown Sugar: Both sweeten and help the cookies caramelize and stay moist, while brown sugar gives a hint of molasses flavor.
- Egg + Egg Yolk: The extra yolk intensifies the richness and helps create that fudgy chew.
- Buttermilk: Lends a gentle tang and keeps things soft.
- Pure Vanilla Extract: A backdrop for all the other flavors.
- Red Gel Food Coloring: Delivers that unmistakable, bold hue. Gel is best—it doesn’t dilute the dough.
- White Chocolate Chips: The sweet accent that gives these cookies their signature look. Pick a high-quality brand for the ultimate meltiness.
Measuring Ingredients for Success
Precise measurements are key for uniform texture. Here’s a basic ingredient table for a batch of two dozen cookies:
| Ingredient | Amount |
|---|---|
| All-purpose flour | 2 cups (240g) |
| Unsweetened cocoa powder | 2 1/2 tbsp (15g) |
| Baking soda | 1 tsp |
| Fine sea salt | 1/2 tsp |
| Unsalted butter, softened | 1/2 cup (113g) |
| Granulated sugar | 1/2 cup (100g) |
| Light brown sugar, packed | 3/4 cup (150g) |
| Large egg | 1 |
| Egg yolk | 1 |
| Buttermilk | 2 tbsp |
| Vanilla extract | 2 tsp |
| Red gel food coloring | 1 tbsp or as needed |
| White chocolate chips | 1 1/4 cups (215g) |
Step-By-Step: Baking Red Velvet White Chocolate Chip Cookies
Baking these cookies means layering flavor, texture, and color in just the right order. Here’s the breakdown:
1. Prep Work
Set out your butter in advance so it’s soft to the touch. Crack eggs and let them come to room temperature. Preheat your oven to 350°F (175°C) and line baking sheets with parchment.
2. Mix the Dry Ingredients
In a medium bowl, whisk flour, cocoa powder, baking soda, and salt. This steps ensures every cookie is evenly colored and avoids runaway pockets of bitterness or salt.
3. Cream Butter and Sugars
Use an electric mixer (stand or handheld) to blend softened butter with granulated and brown sugars for about 2–3 minutes, until pale and fluffy. Well-creamed butter lets you trap air, giving the cookies their soft texture.
4. Blend in Wet Ingredients
Mix in the egg, the extra yolk, and vanilla. Add buttermilk. Beat until smooth. Scrape bowl sides so every bit mixes in. Gradually add red gel food coloring, blending after each addition, until the dough reaches your preferred brightness—usually a deep, vivid red.
5. Incorporate Dry Mixture
With the mixer on low (or by hand for more control), add dry ingredients in two batches. As the dough comes together and streaks of flour nearly disappear, fold in just one cup of white chocolate chips—save the rest for topping.
6. Chill the Dough
Place dough in the fridge for 1–2 hours. It’ll firm up, making for plumper, chewier cookies while holding their shape as they bake.
7. Shape & Bake
Scoop dough balls, two inches apart, using a cookie scoop for uniformity. Bake each batch for about 10–12 minutes, just until the edges set and the middles look slightly soft and puffy.
8. Finish & Cool
Immediately press the reserved white chocolate chips into the warm cookies—their tops will look bakery-worthy. Let cookies stand on the tray about 5 minutes; then transfer them to a rack to cool completely.
Expert Tips for Perfect Results
It’s the little adjustments that make these cookies your own and ensure success every time.
- For the brightest cookies, stick with gel food coloring. Liquid versions require much more for the same effect and can make the dough too loose.
- Don’t overbake. Pull the tray when the centers still look a tad soft; they’ll set up as they cool and stay chewy inside.
- Use parchment, not a greased pan—this stops bottom scorching and keeps the color vibrant.
- If you like extra-tall cookies, chill the scooped dough as shaped balls for fifteen minutes before baking.
- Want a flavor twist? Try swapping some white chocolate chips for peppermint chips, dark chocolate chunks, or toasted pecans.
Serving Suggestions and Pairings
These cookies practically beg to be enjoyed with a glass of cold milk. But they also shine as dessert sandwiches with a dollop of marshmallow fluff or creamy cheesecake frosting. For a fancy touch, serve alongside fresh berries or use them to garnish red velvet ice cream.
Planning a gathering? Display them on a platter with chocolate-dipped strawberries or your favorite blondies to brighten any dessert table.
How to Store and Freeze Your Cookies
Keep fresh-baked cookies in an airtight container at room temperature for up to four days. Layer parchment between stacks to avoid melted chips sticking together.
For longer storage:
- Chilled: Refrigerate up to a week (airtight, layered with parchment).
- Freezing Baked Cookies: Lay cooled cookies on a tray. Freeze until solid, then drop them into freezer bags for up to three months. Thaw at room temperature before serving.
- Freezing Raw Dough: Scoop and chill dough balls, then freeze. Bake from frozen with an extra 1–2 minutes in the oven.
Red Velvet Cookie Variations
Cookies lend themselves to tinkering. If you want to experiment:
- Swap out white chips for dark, milk, or even butterscotch morsels.
- Stir in crushed peppermint candy for a holiday version.
- Add a hint of espresso powder for depth, or a touch of orange zest for a citrus lift.
- Drizzle warm cookies with cream cheese glaze or sandwich two with sweetened cream cheese frosting.
Red Velvet White Chocolate Chip Cookies stand out with their bold look, soft texture, and balanced flavor. Whether you’re whipping up a batch for gifting, holiday celebrations, or just because you’re craving something extraordinary, this recipe delivers. From their plush interiors to melty white chips and the pop of red velvet, each bite is delightful.
Enjoy experimenting, sharing, and savoring every cookie you bake.
Red Velvet White Chocolate Chip Cookies
The next time you want something sweet and chewy, make a batch of these cookies. They’re loaded with creamy chocolate. Enjoy red velvet white chocolate chip cookies.
Ingredients
- 1/2 teaspoon gel red food coloring
- 1 1/2 teaspoons vanilla extract
- 1/2 teaspoon salt
- 3/4 cup brown sugar, packed
- 1/4 cup unsweetened cocoa powder
- 2 tablespoons buttermilk
- 1 large egg + 1 egg yolk
- 1/2 cup granulated sugar
- 1 cup white chocolate chips, divided
- 3/4 cup butter, softened
- 1 teaspoon baking soda
- 2 cups (240g) all-purpose flour
Instructions
- In a medium bowl, sift the flour, cocoa powder, baking soda, and salt. Set aside.
- In a separate large bowl, beat the butter and sugars with an electric mixer on medium speed until light and fluffy, about 2 minutes. Turn the mixer to low and blend in the egg, yolk, buttermilk, and vanilla extract. Mix until fully incorporated.
- Add the red food coloring, a little at a time, until the desired color is reached. Mix until evenly colored.
- Stir the dry ingredients into the bowl by hand with a spatula, mixing about halfway. Add 3/4 cup of chocolate chips and finish mixing until no streaks of flour are visible.
- Cover the bowl with plastic wrap and refrigerate the dough for about 1-2 hours.
- Preheat the oven to 350 degrees Fahrenheit. Line baking sheets with parchment paper.
- Scoop the chilled dough into 1 1/2-2-inch balls and place them on the prepared baking sheets with 3 inches between each cookie.
- Bake for about 10-12 minutes or until the edges are set. Remove from the oven and immediately press the remaining chocolate chips into the tops of the hot cookies.
- Let them cool on the trays for 5 minutes before transferring to a wire rack to cool completely. Enjoy!