Have you ever wondered how to make delicious butterscotch fudge at home? I’m here to share simple and easy steps to create rich, creamy butterscotch fudge that melts in your mouth.
There’s something truly magical about making butterscotch fudge at home. I still remember the first time I tried it — the rich, creamy texture and sweet aroma filled my kitchen with warmth. It’s a simple treat that brings back memories and always impresses everyone.
I know how overwhelming recipes can seem, but making butterscotch fudge is easier than you think. With just a few easy steps and basic ingredients, you’ll be creating delicious squares in no time. It’s a perfect project that combines fun and flavor effortlessly.
Once you get the hang of it, you’ll see how flexible and versatile this classic treat is. From quick snacks to gift ideas, it’s a sweet fix that’s sure to delight. So, let’s dive into the simple secrets of making butterscotch fudge that melts in your mouth.
1. butterscotch fudge
Making butterscotch fudge is super simple—just melt 3 cups of butterscotch chips with a can of sweetened condensed milk and a pinch of salt in the microwave, then stir until smooth. Pour the creamy mixture into a pan, chill for about 3 hours, and enjoy a rich, melt-in-your-mouth treat that’s perfect for sharing or savoring all on your own!
Read the Recipe: butterscotch fudge
2. Traditional Butterscotch Fudge
Dive into creating a rich and creamy Traditional Butterscotch Fudge by boiling a mixture of sugar, evaporated milk, butter, and salt until it’s beautifully thickened, then mixing in marshmallows, butterscotch morsels, and nuts for a delightful crunch. Pour the luscious mixture into a prepared pan, chill until firm, and then cut into small, irresistible pieces perfect for sharing or keeping all to yourself!
Read the Recipe: Traditional Butterscotch Fudge
3. Salted Butterscotch Fudge
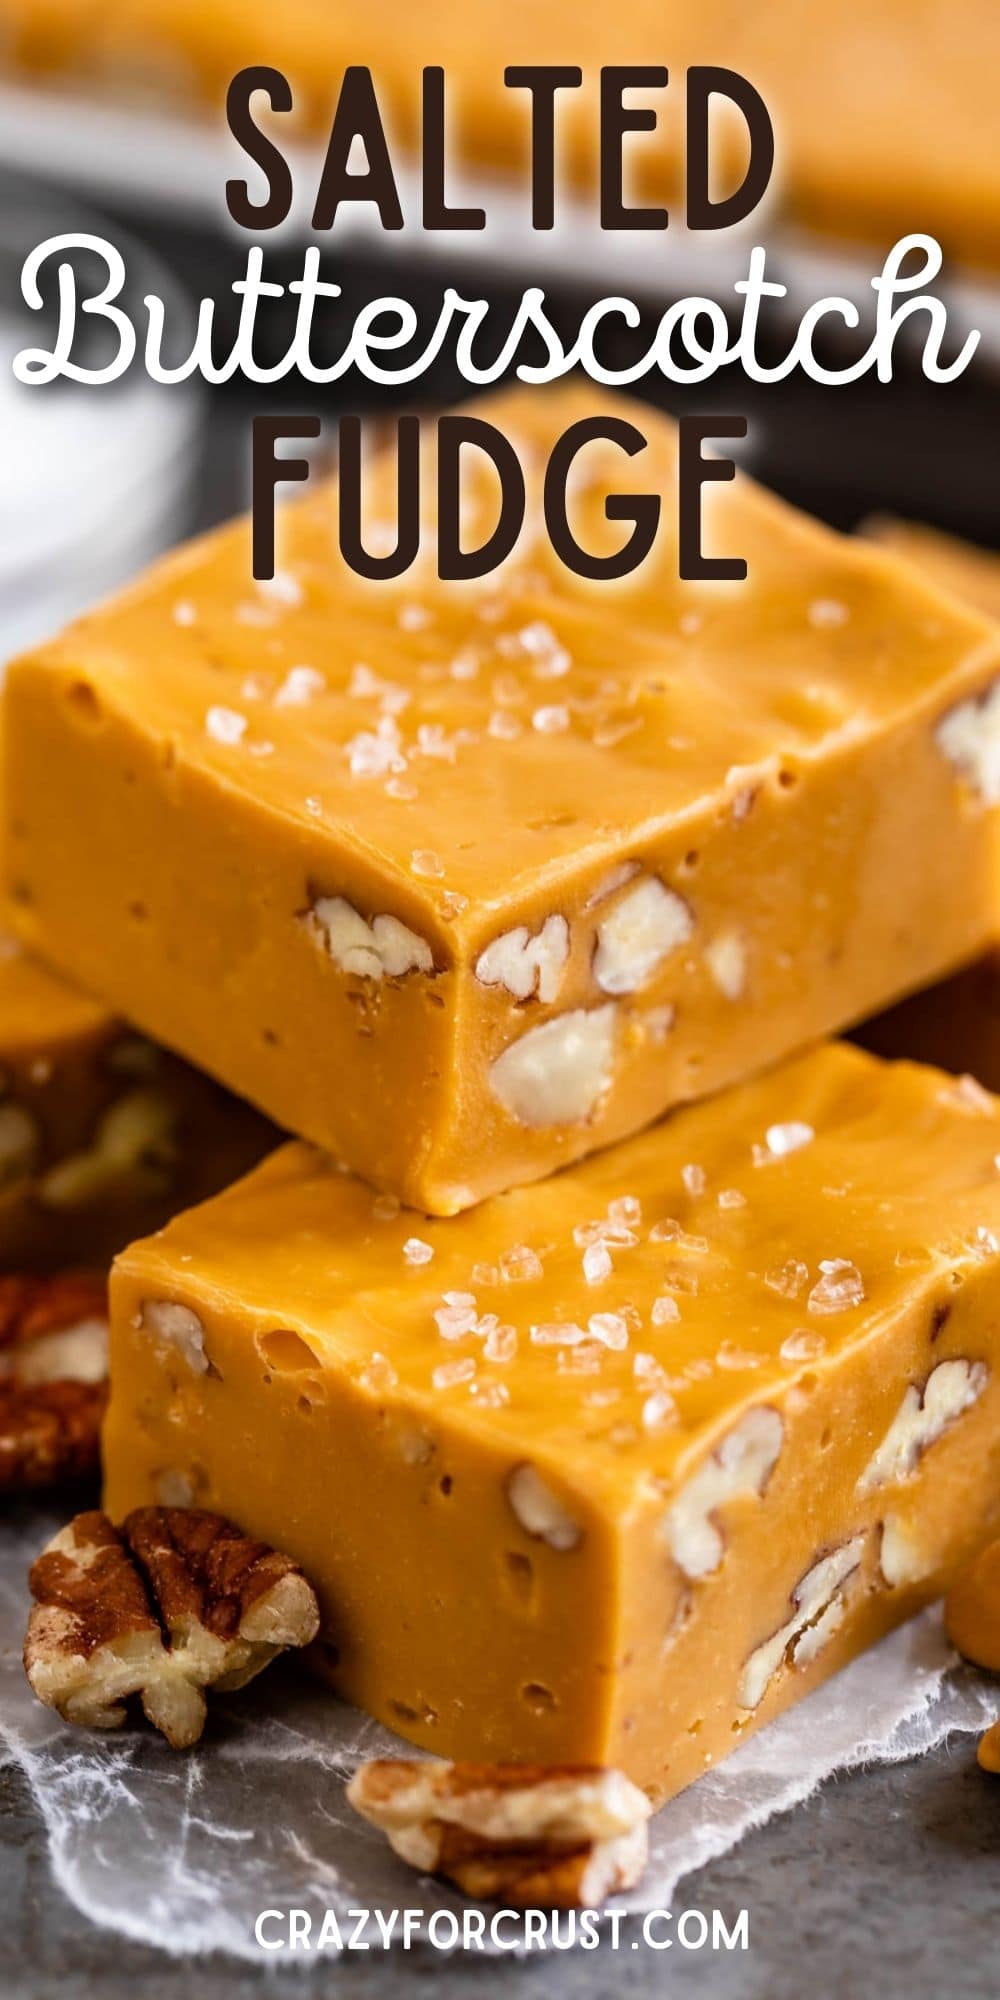
This Salted Butterscotch Fudge is an easy, no-fail treat that combines creamy butterscotch chips with sweetened condensed milk for a rich, smooth texture. Just melt the ingredients together, fold in toasted pecans and a sprinkle of sea salt, then chill until firm for the perfect indulgent snack!
Read the Recipe: Salted Butterscotch Fudge
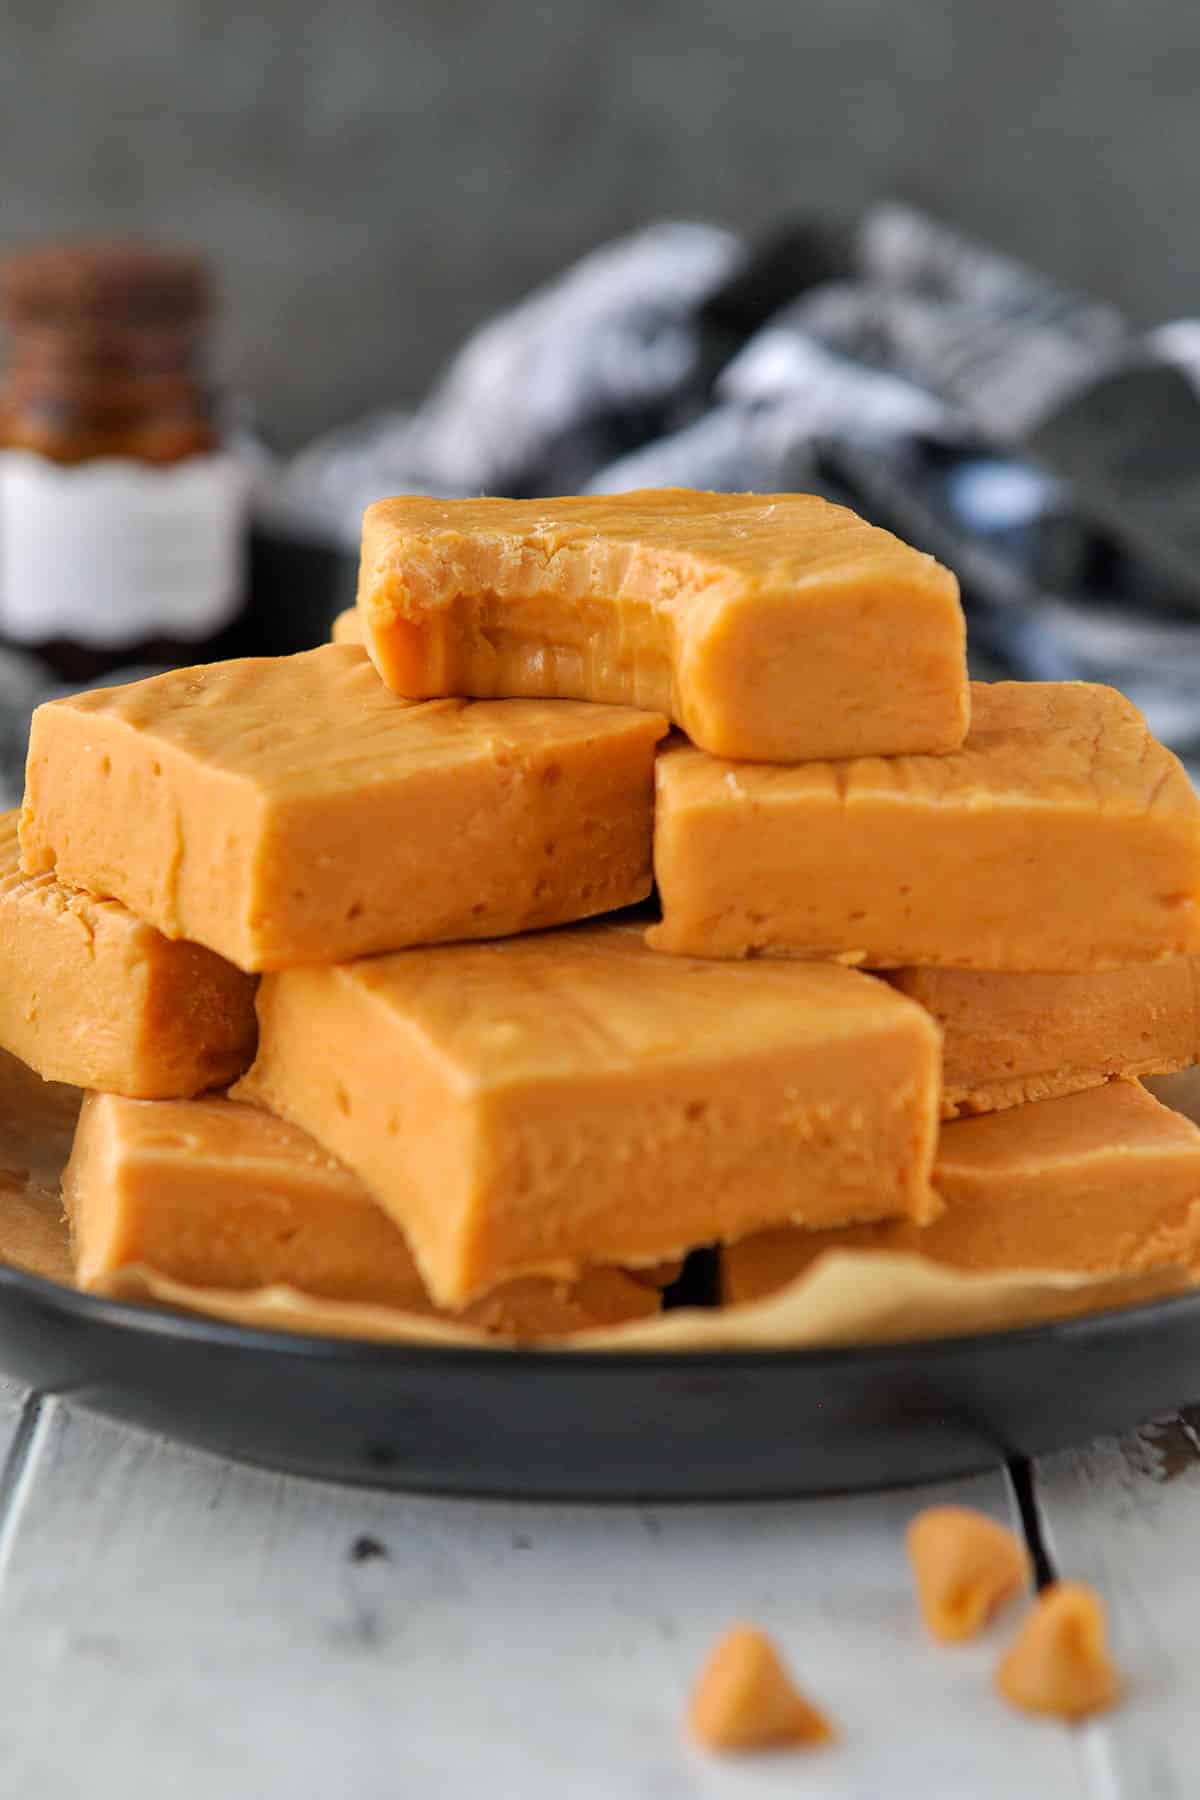
4. Homemade Butterscotch Fudge Only 3 Ingredients

Making homemade butterscotch fudge is a breeze with just 3 simple ingredients: sweetened condensed milk, butter, and butterscotch chips. Melt the butter and sweetened condensed milk together, then stir in the butterscotch chips until smooth and thick, pour it into a pan, and chill until firm—delicious fudge ready to enjoy!
Read the Recipe: Homemade Butterscotch Fudge Only 3 Ingredients
5. Butterscotch Fudge
This Butterscotch Fudge is an irresistibly sweet and creamy treat made with just three simple ingredients and no oven needed! Simply melt the ingredients in the microwave, pour into a pan, and let it set — perfect for satisfying your craving or sharing at holidays and gatherings.
Read the Recipe: Butterscotch Fudge
6. Butterscotch Fudge [princesspinkygirl.com]
![Butterscotch Fudge [princesspinkygirl.com]](https://princesspinkygirl.com/wp-content/uploads/2022/10/butterscotch-fudge-facebook.jpeg)
This butterscotch fudge is a quick and easy treat made with just 3 simple ingredients—butterscotch chips, sweetened condensed milk, and a pinch of salt—no thermometer required! Just microwave everything until smooth, chill for a couple of hours, and then slice into delicious, creamy squares perfect for butterscotch lovers.
Read the Recipe: Butterscotch Fudge [princesspinkygirl.com]
7. Easy Butterscotch Fudge

This easy Butterscotch Fudge comes together quickly with just a few simple ingredients, making it perfect for satisfying your sweet tooth without any fuss. Simply boil sugar, butter, and milk, then mix in butterscotch chips, marshmallow creme, and vanilla before pouring into a pan to cool and set—deliciousness in about 15 minutes!
Read the Recipe: Easy Butterscotch Fudge
8. Butterscotch Fudge [www.tasteofhome.com]
![Butterscotch Fudge [www.tasteofhome.com]](https://www.tasteofhome.com/wp-content/uploads/2025/02/Butterscotch-Fudge_EXPS_TOHD24_18888_ChristineMa_1.jpg)
This butterscotch fudge is a rich, chewy treat that bursts with caramel, butterscotch, and maple flavors, thanks to the combination of butterscotch chips, marshmallows, and crunchy walnuts. Simply boil sugar, milk, and butter, then stir in the flavorful mix-ins before pouring into a prepared pan to set — it’s perfect for gift-giving or a decadent paw-ty snack!
Read the Recipe: Butterscotch Fudge [www.tasteofhome.com]
9. Chocolate and Butterscotch Fudge
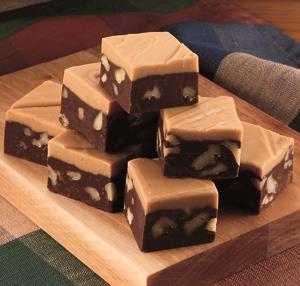
This Chocolate and Butterscotch Fudge is a dreamy treat that’s quick to make and irresistibly smooth. Simply melt chocolate chips with sweetened condensed milk, add nuts and vanilla, then layer it with luscious butterscotch melted with more milk—chill for just 3 hours, and you’re ready to enjoy sweet, rich squares that melt in your mouth!
Read the Recipe: Chocolate and Butterscotch Fudge
10. Butterscotch Fudge [www.southernliving.com]
![Butterscotch Fudge [www.southernliving.com]](https://www.southernliving.com/thmb/_9T3nm7ldnm7c7PR_cd2R4TWY44=/1500x0/filters:no_upscale():max_bytes(150000):strip_icc()/Butterscotch-Fudge_3x2_Audit1950-244-bc91e070e6c74578b92792602ac9c46c.jpg)
Whip up this easy butterscotch fudge by melting butterscotch and white chocolate chips with butter and sweetened condensed milk, then stirring in walnuts and vanilla for extra flavor. Pour the creamy mixture into a prepared pan, sprinkle with coarse sea salt, and let it cool for about 2 hours until firm, then cut into sweet, festive squares perfect for sharing!
Read the Recipe: Butterscotch Fudge [www.southernliving.com]
11. 3 Ingredient Butterscotch Fudge

This 3 Ingredient Butterscotch Fudge is a delightfully simple treat that comes together in just 5 minutes, perfect for satisfying sweet cravings or impressing at parties. Just melt butterscotch chips with sweetened condensed milk over warm heat, stir in a splash of vanilla, and chill until firm — then enjoy rich, creamy squares that melt in your mouth!
Read the Recipe: 3 Ingredient Butterscotch Fudge
12. Butterscotch Fudge [www.familyfreshmeals.com]
![Butterscotch Fudge [www.familyfreshmeals.com]](https://www.familyfreshmeals.com/wp-content/uploads/2020/11/Butterscotch-Fudge-21a.jpg)
Making Butterscotch Fudge is a breeze with just a few simple ingredients and no oven needed! Just melt butterscotch chips gently in a double boiler (or a DIY version), then mix in condensed milk, vanilla, cinnamon, and chopped pecans for a rich, buttery-sweet treat that’s perfect for sharing or enjoying anytime.
Read the Recipe: Butterscotch Fudge [www.familyfreshmeals.com]
13. How to Make Old Fashioned Butterscotch Fudge

Experience the joy of making old-fashioned butterscotch fudge from scratch with just a few simple ingredients like sugar, molasses, evaporated milk, and butter. Slowly bring the mixture to a boil, then let it cool before mixing vigorously until smooth, creating a luscious, nostalgic treat perfect for the holidays![/END_CONTENT]
Read the Recipe: How to Make Old Fashioned Butterscotch Fudge
14. Salted Chocolate Butterscotch Fudge
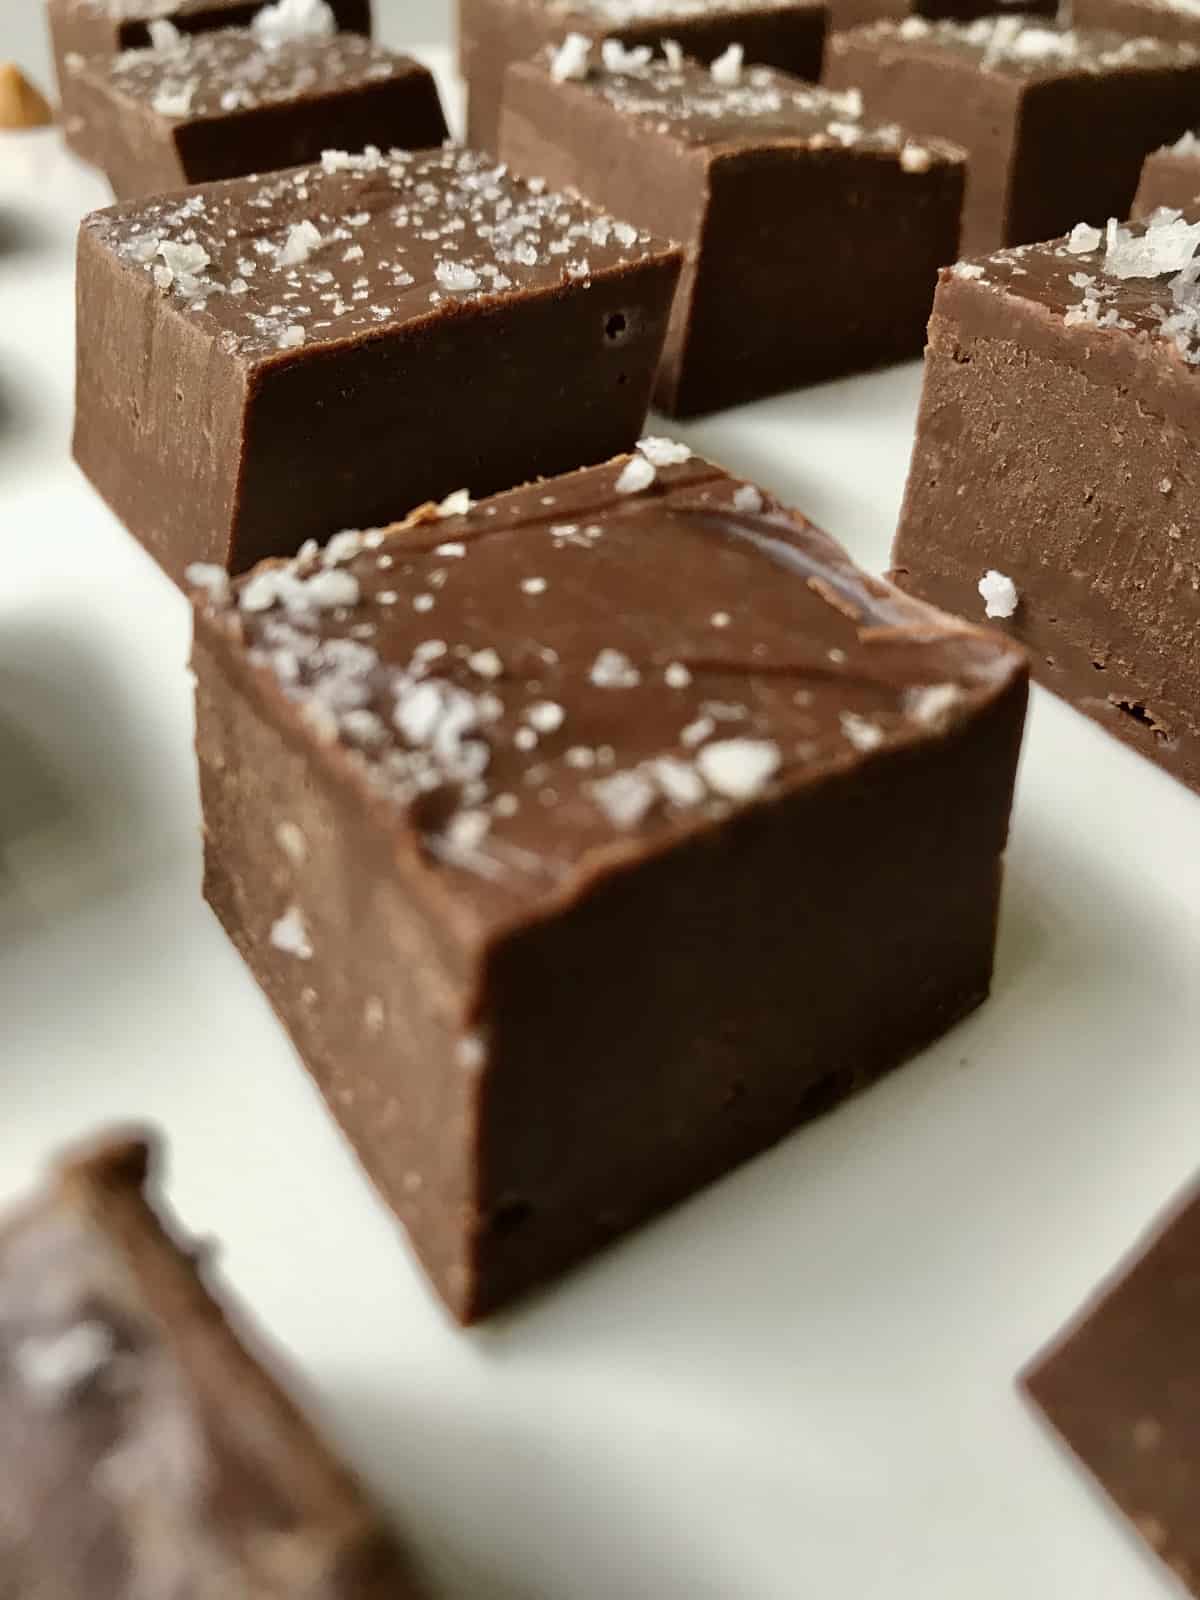
This Salted Chocolate Butterscotch Fudge is a delightful treat you can make in under 10 minutes with just five simple ingredients. Melt the chocolate and butterscotch chips with sweetened condensed milk, stir in vanilla, then spread in a pan, sprinkle with sea salt, and chill until firm—enjoy a perfect blend of sweet and salty in every bite!
Read the Recipe: Salted Chocolate Butterscotch Fudge