Have you ever tried a Cherry Poke Cake? It’s a colorful and delicious dessert that’s easy to make and perfect for any occasion.
There’s something truly delightful about Cherry Poke Cake. Its vibrant colors and sweet flavors make it an instant favorite at any gathering. I remember the first time I made it for a summer picnic — it disappeared in minutes!
This dessert is incredibly easy to prepare. With just a few simple ingredients, you can create a moist, fruity, and creamy masterpiece that everyone will love.
I’ve perfected the art of making this cake and am excited to share my tips. Get ready to impress your friends with a dessert that’s as beautiful as it is delicious.
1. Cherry Poke Cake
:max_bytes(150000):strip_icc()/246112-93b742aa220549bbb993f373f2a1e770.jpg)
This Cherry Poke Cake is a fun and flavorful dessert featuring a moist white cake soaked with a sweet gelatin mixture, topped with rich cherry pie filling, and finished with a fluffy layer of whipped topping. It’s an easy treat to prepare that combines fruity, creamy, and classic cake flavors in just a couple of hours for a crowd-pleasing finish!
Read the Recipe: Cherry Poke Cake
2. Cherry Jello Poke Cake Recipe With Dream Whip frosting
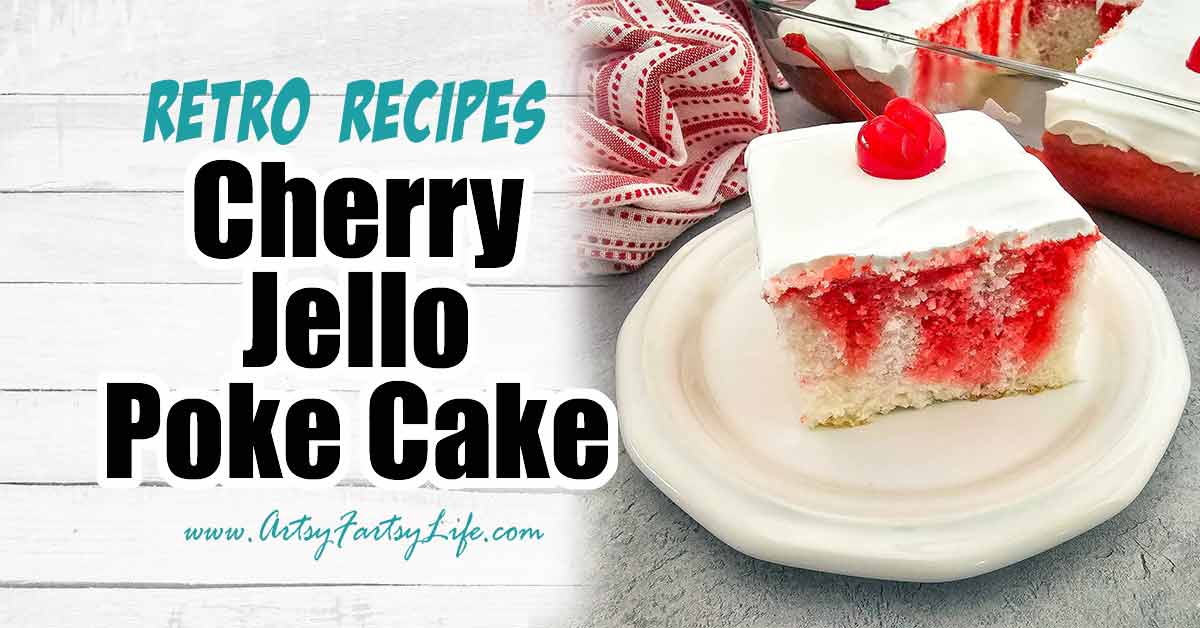
This Cherry Jello Poke Cake is a fun, colorful dessert that combines moist white cake with vibrant cherry Jello infused into every bite. Topped with fluffy Dream Whip frosting and garnished with maraschino cherries, it’s an easy, nostalgic treat perfect for any occasion!
Read the Recipe: Cherry Jello Poke Cake Recipe With Dream Whip frosting
3. Easy Cherry Poke Cake
Cherry Poke Cake is a fun and easy dessert that combines a fluffy white cake with bursts of sweet cherry flavor from cherry jello, which gets poked into the cake to create delightful pockets of fruitiness. Topped with a creamy, cheesecake-like frosting and optional cherry pie filling, it’s perfect for any gathering and can be made the day before for effortless serving!
Read the Recipe: Easy Cherry Poke Cake
4. Cherry Poke Cake [spicysouthernkitchen.com]
![Cherry Poke Cake [spicysouthernkitchen.com]](https://spicysouthernkitchen.com/wp-content/uploads/Cherry-Poke-Cake-5.jpg)
Cherry Poke Cake is a fun and vibrant dessert that’s super easy to prepare using just a white cake mix, cherry gelatin, and canned cherry pie filling, creating a stunning patriotic red look. Once baked, you poke holes in the cake, pour the cherry gelatin over, and top it with creamy Cool Whip or whipped cream, making it moist, flavorful, and perfect for any gathering!
Read the Recipe: Cherry Poke Cake [spicysouthernkitchen.com]
5. Cherry Poke Cake [www.savoryexperiments.com]
![Cherry Poke Cake [www.savoryexperiments.com]](https://www.savoryexperiments.com/wp-content/uploads/2025/03/Cherry-Poke-Cake-3.jpg)
This Cherry Poke Cake is a fun and tasty dessert that’s super easy to make—perfect for any occasion! Just bake a box mix in a 9×13 pan, poke lots of holes while it’s still warm, and pour in sweet cherry JELLO to soak in; once chilled, top it with fluffy frosting made of whipped cream and marshmallow fluff for a delicious finish.
Read the Recipe: Cherry Poke Cake [www.savoryexperiments.com]
6. Cherry Almond Poke Cake
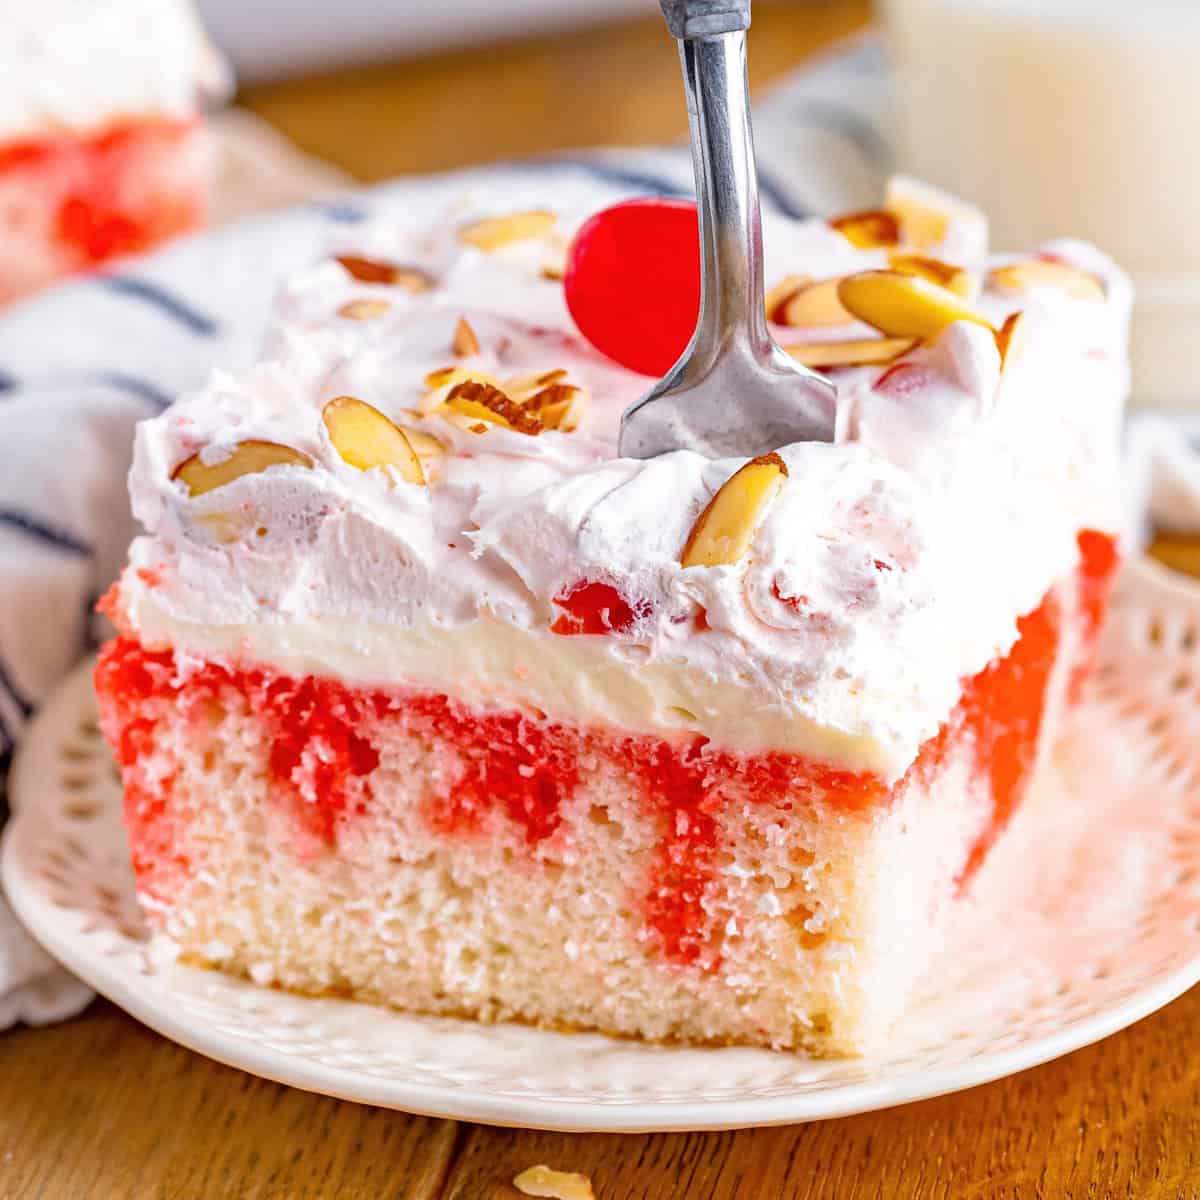
Cherry Almond Poke Cake is a super easy and irresistibly delicious treat made with a simple cake mix that’s soaked in sweet cherry juice and topped with a creamy mixture of cream cheese, whipped topping, and tasty maraschino cherries. The final touch of sliced almonds adds a perfect crunch, making each bite a delightful combination of fruity, nutty, and creamy flavors that everyone will love!
Read the Recipe: Cherry Almond Poke Cake
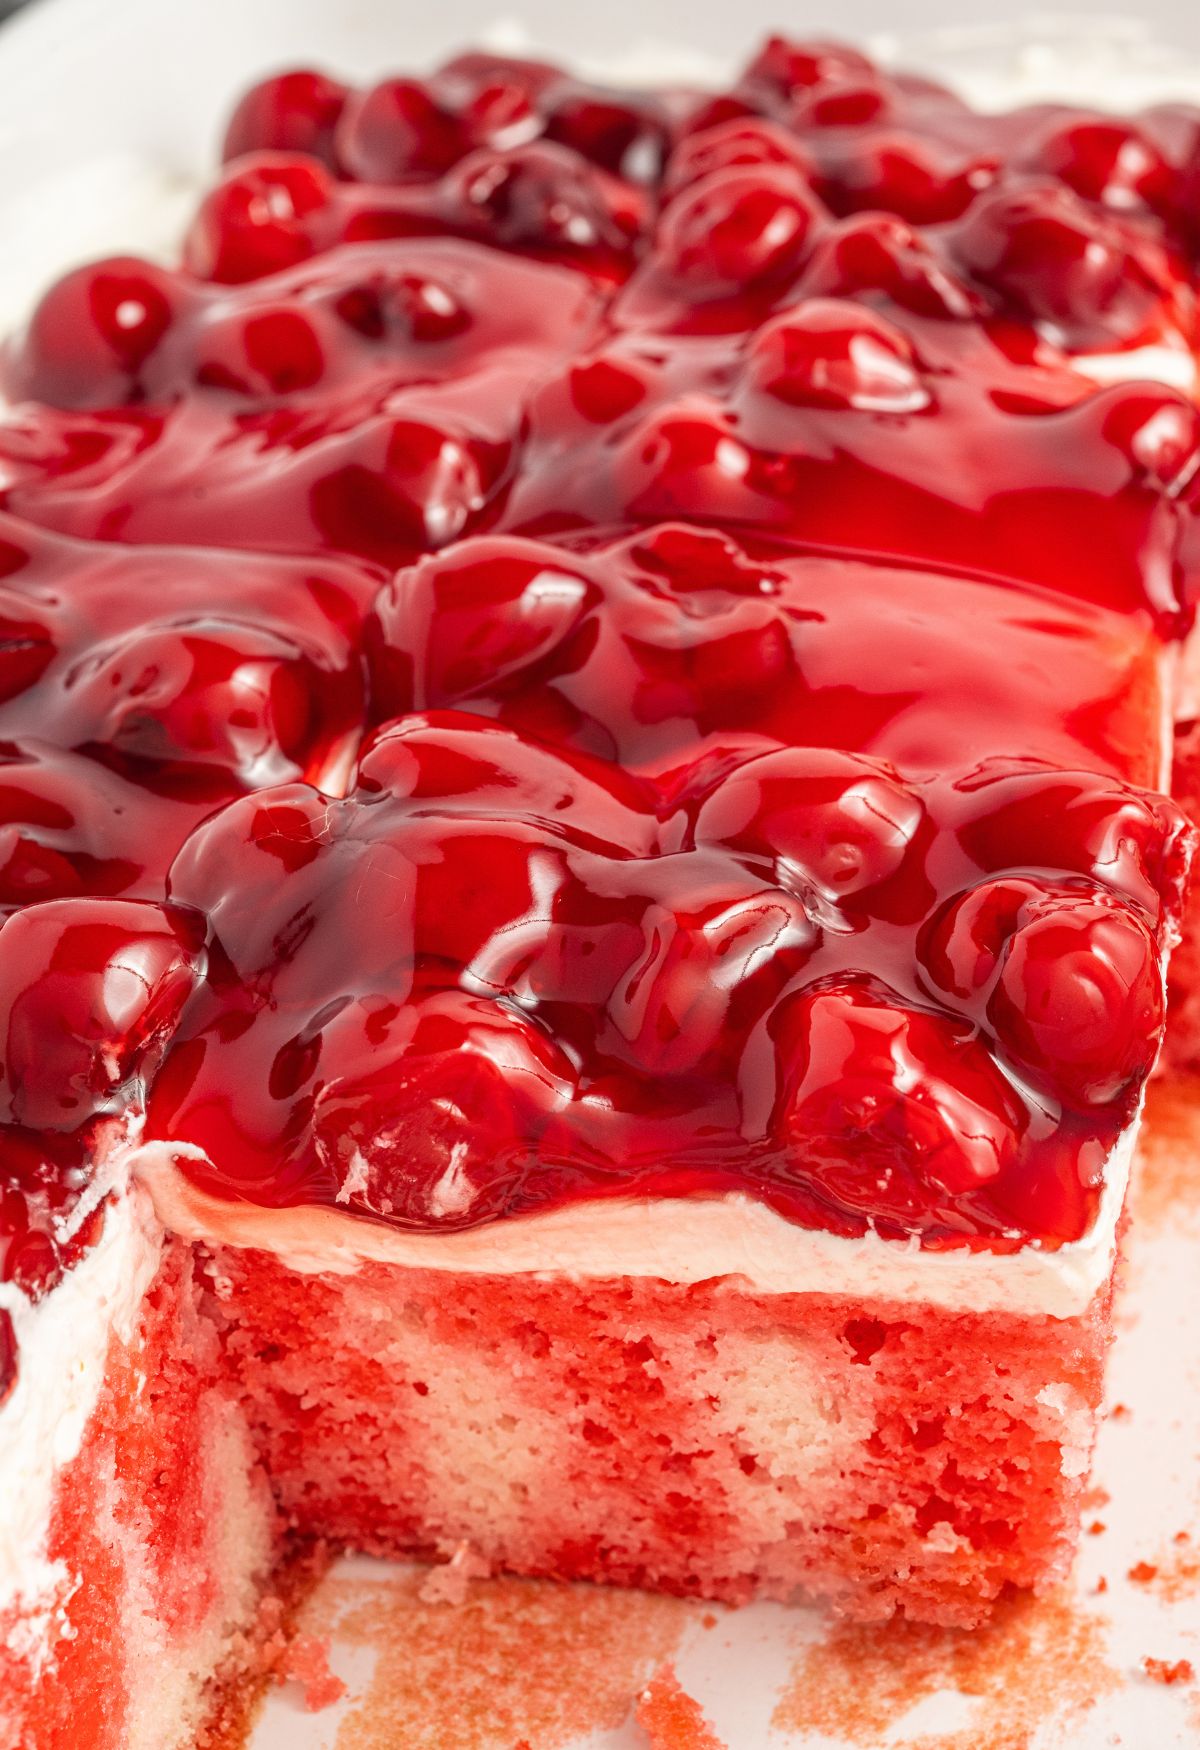
7. Cherry Poke Cake [www.tasteofhome.com]
![Cherry Poke Cake [www.tasteofhome.com]](https://www.tasteofhome.com/wp-content/uploads/2025/02/Cherry-Dream-Cake_EXPS_TOHVP25_19231_MF_01_24_1.jpg)
This Cherry Poke Cake is a bright, fruity dessert with a light, fluffy white cake soaked in cherry gelatin for a burst of flavor. It’s topped with a creamy whipped topping and a sweet cherry pie filling, making each bite rich, tangy, and irresistibly delicious. Simply bake the cake, poke holes and soak it with gelatin, then layer on the topping and cherries for a quick, crowd-pleasing treat.
Read the Recipe: Cherry Poke Cake [www.tasteofhome.com]
8. Black Forest Poke Cake
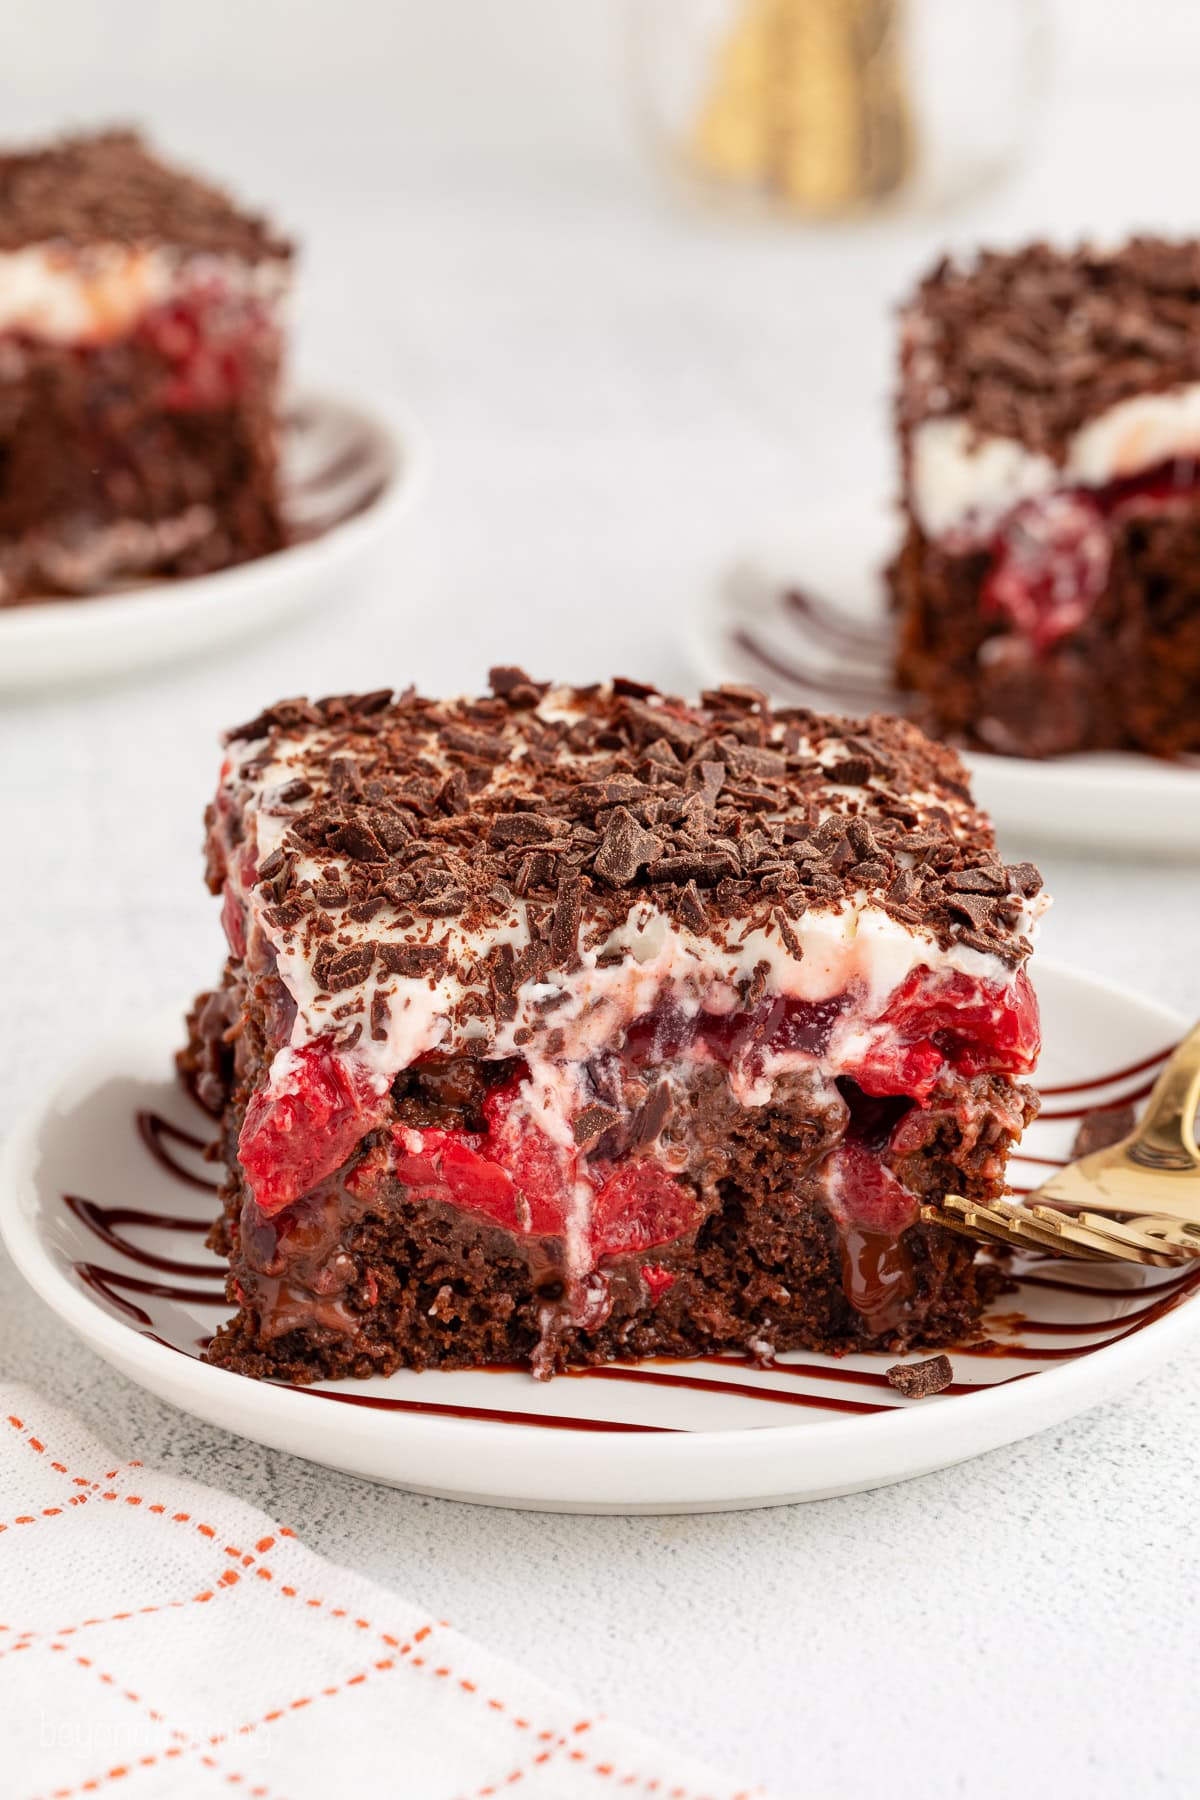
This Black Forest Poke Cake is a deliciously moist chocolate cake infused with hot fudge, topped with cherry pie filling and tangy whipped cream cheese frosting, then finished with plenty of chocolate shavings. It’s incredibly easy to make, using simple ingredients, and perfect for impressing a crowd at any gathering or celebration!
Read the Recipe: Black Forest Poke Cake
9. Cherry Poke Cake Recipe
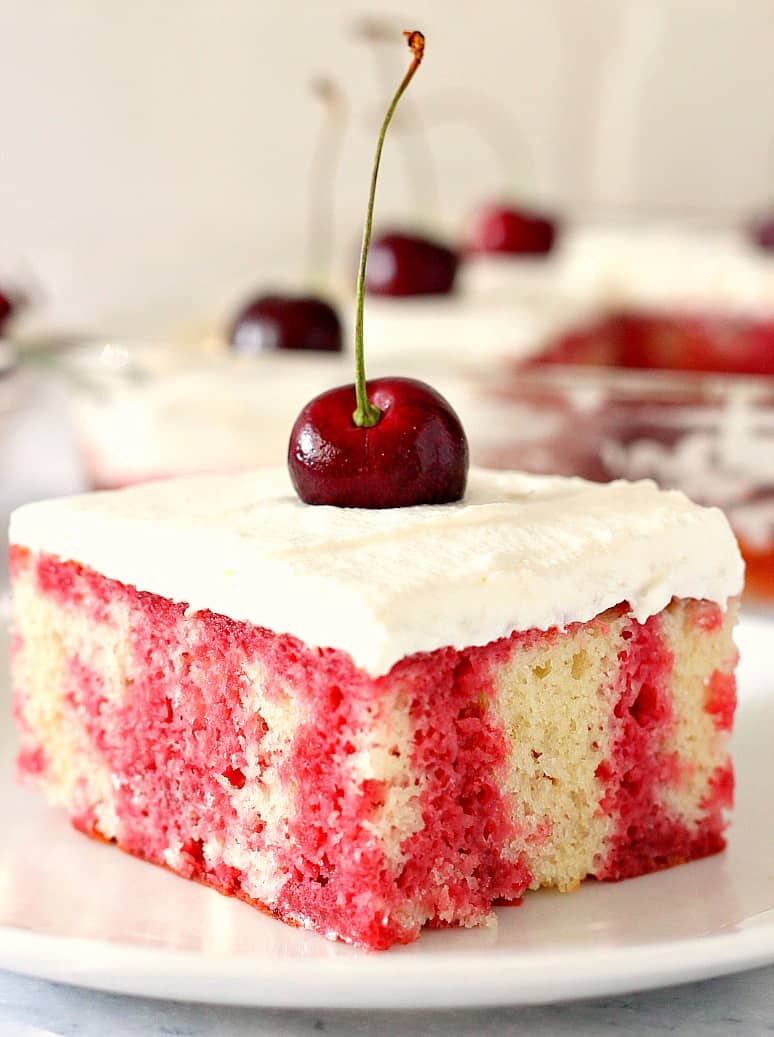
This Cherry Poke Cake features a super fluffy vanilla cake infused with dark cherry jello streaks, making it as vibrant as it is delicious. Topped with light whipped cream and fresh cherries, it’s the perfect summer dessert to wow friends and family!
Read the Recipe: Cherry Poke Cake Recipe
10. Cherry Limeade Poke Cake
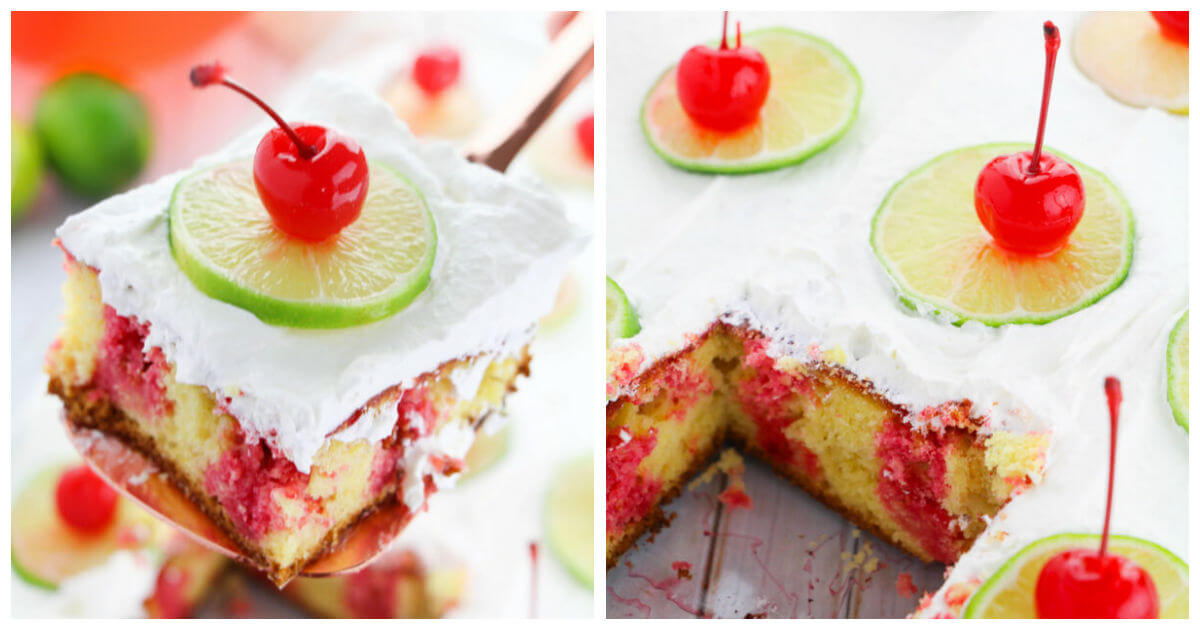
This Cherry Limeade Poke Cake brings the delicious flavors of a classic summer drink into a vibrant, shareable dessert. Layers of lemon cake are infused with cherry limeade flavor by poking holes and pouring cherry Jell-O, which soaks in beautifully, creating a colorful and tangy treat topped with Cool Whip, fresh lime slices, and shiny maraschino cherries—perfect for any sunny celebration!
Read the Recipe: Cherry Limeade Poke Cake
11. Cherry Chocolate Chip Poke Cake
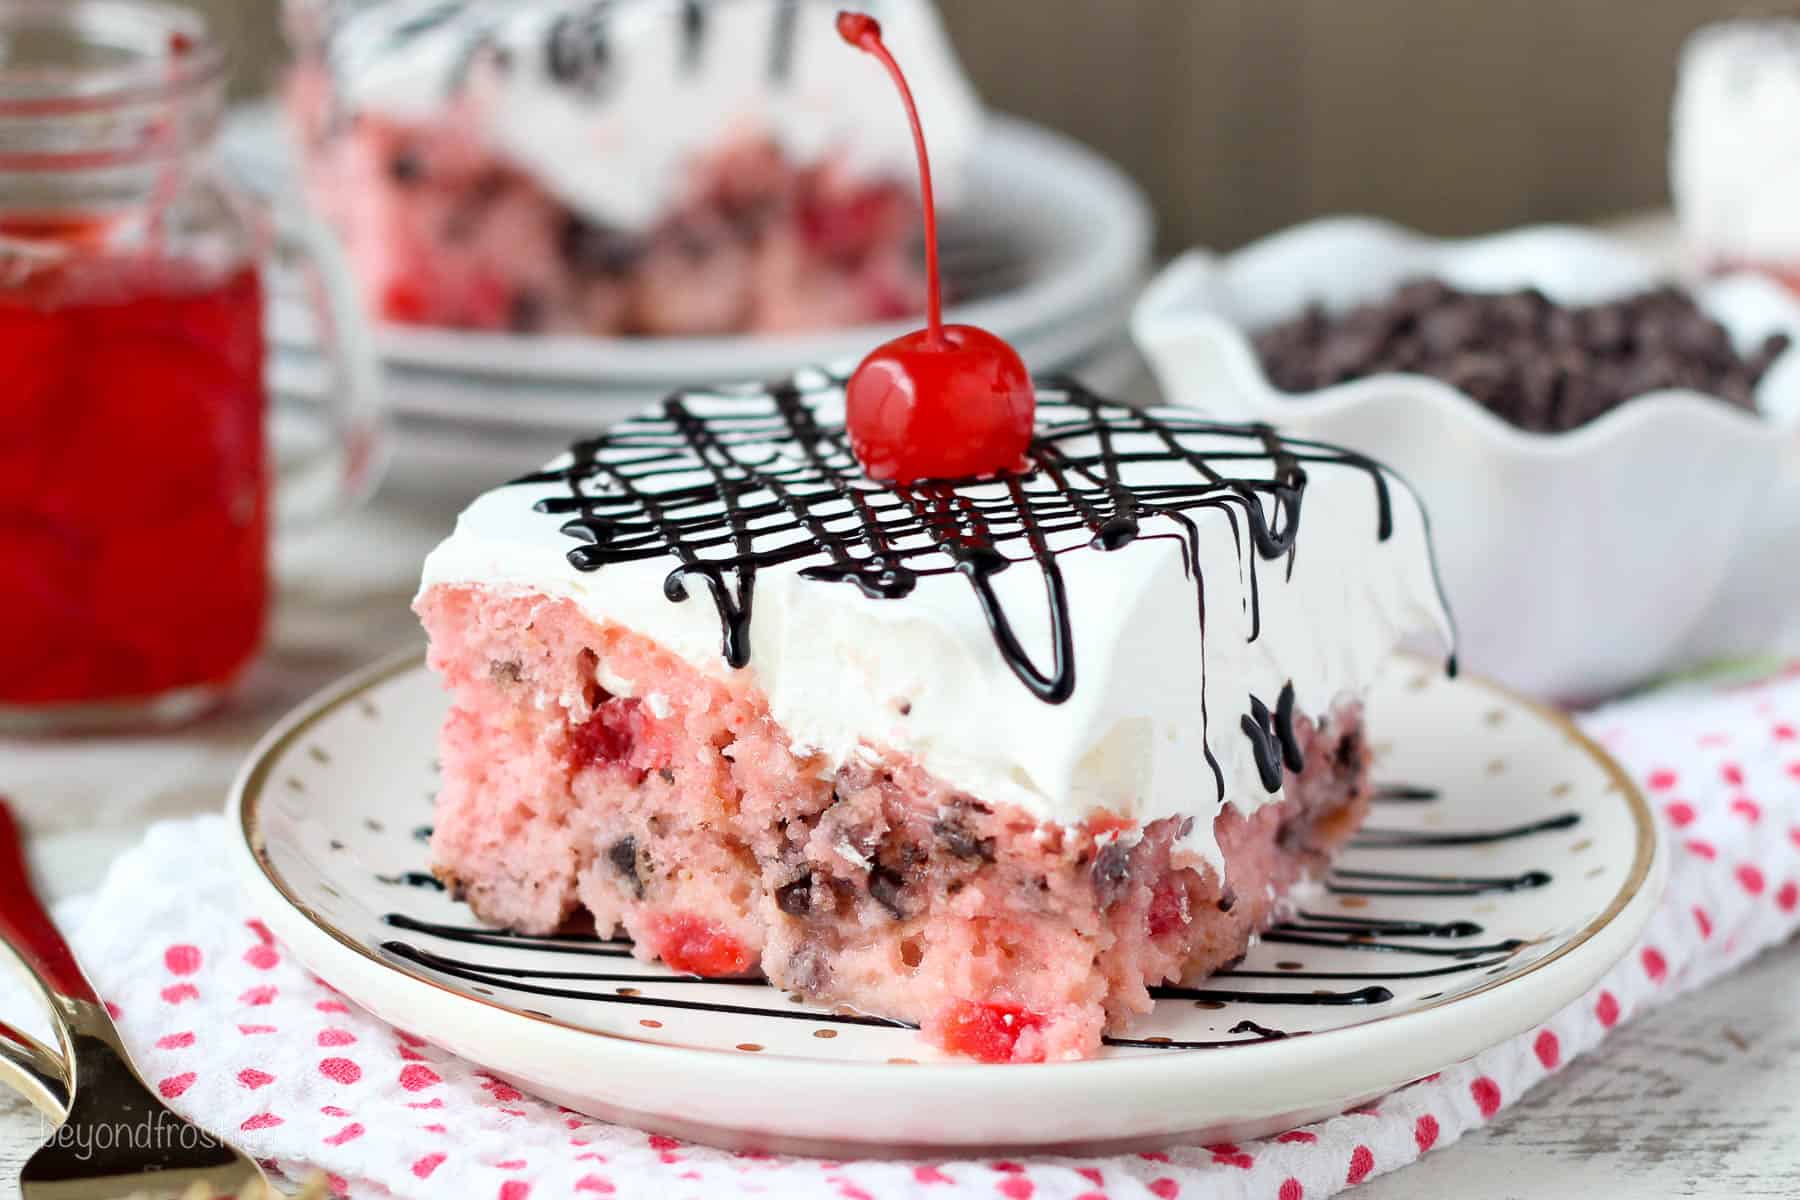
This Cherry Chocolate Chip Poke Cake is a delightful treat made by mixing a white cake mix with cherry juice and chocolate chips, then baking it to fluffy perfection. Once baked, it’s soaked in sweetened condensed milk, topped with Cool Whip, and drizzled with chocolate sauce, creating a sweet, fruity, and decadent dessert that’s perfect for any occasion!
Read the Recipe: Cherry Chocolate Chip Poke Cake
12. Cherry Jello Poke Cake Recipe (Surprise Ingredient)
This Cherry Jello Poke Cake is a fun and easy dessert that combines a moist vanilla cake with a zesty cherry cola flavor. After baking the cake, you poke holes into it, then soak it with a mixture of cherry Jello and Coke, creating a delightful surprise in every bite! Finally, a creamy vanilla pudding and whipped topping layer is added on top, making it perfect for any crowd and ready to chill until served.
Read the Recipe: Cherry Jello Poke Cake Recipe (Surprise Ingredient)
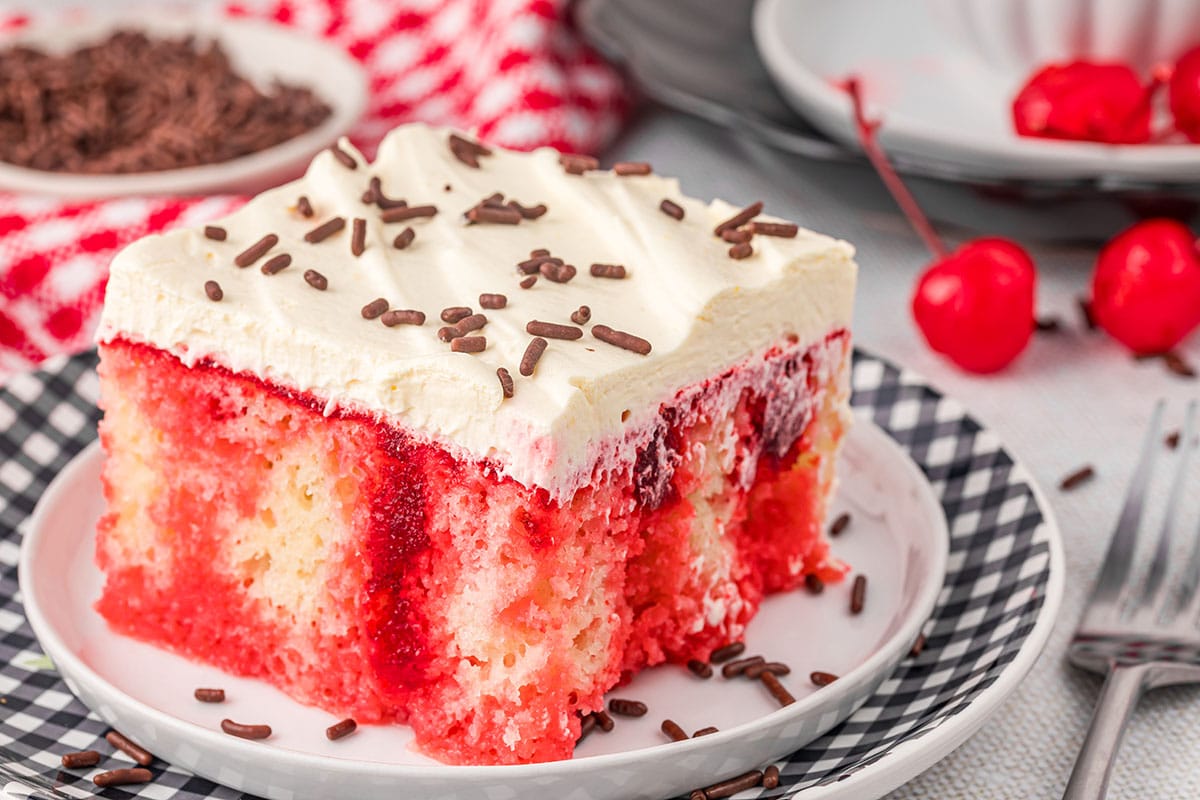
13. Chocolate-Cherry Poke Cake
Imagine sinking your fork into a moist chocolate cake that’s been infused with tangy cherry juice and topped with whipped cream. The secret? Poking holes in the warm cake and pouring cherry gelatin over it creates a juicy, flavorful surprise in every bite!
Read the Recipe: Chocolate-Cherry Poke Cake